Successful blog editing makes sure your blog aligns with your content quality standards, SEO goals, remains on-brand, and matches your writing style. Yet for many I know, editing a blog post can be a daunting task.
I know, because I’ve written and edited hundreds of blog posts, myself, over my more than an a decade as blogger, consultant for Fortune 500 brands, and Head of Content at fast-growing startups. I also know what my limitations are though, and I’m not the absolute best at blog editing in the world—it’s not my exact area of expertise.
So today, I’m calling in a guest post favor from my friend and expert, Whitney Wellman, whose made a name for herself in the content production & blog editing game through both client work and growing her own business, Excelsior Content. Here she is, doin her thang!

Over to you, Whitney! 🙏
As an 8-year blog editor and content slayer, I’m sharing my step-by-step blog editing best practices and tips. I’ll also outline top blog editing services, if you prefer to let editing experts handle this part of the blog writing process.
Keep reading to learn how I edit blog posts as an experienced content marketer. Oh! And if you haven’t yet, be sure to take Ryan’s forever free blogging tools for a spin—especially the grammar fixer 😉
Use My 25+ Powerful Free Blogging Tools Today
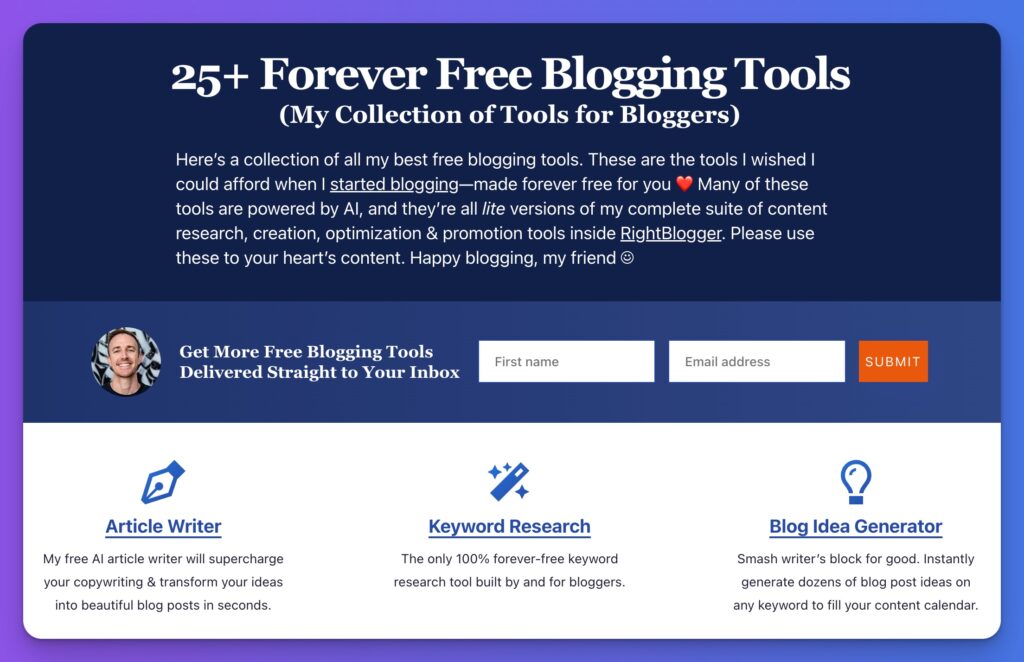
When I first started blogging, I couldn’t afford fancy tools. That sucked. And that’s why I’ve built a stable of powerful free blogging tools ranging from keyword research to an AI article writer, blog idea generator and more. Forever free for all to use—no strings attached.
Blog Editing 101: Step-by-Step Editing Tips for Bloggers
These are my top tips and best practices for blog editors. Both beginners and experienced content marketers can benefit from these helpful tips to improve your blog editing & writing skills.
1. Check Your Outline for Missing Topics (SEO Best Practices)
The editing process begins before the first draft is even written. When I’m writing my blog post outline, I make sure it includes all relevant subtopics that belong in the post.
But, how do I do this effectively without spending too much time?
Here’s what I consider when checking my blog post outlines:
The Blog Post Topic
Is the topic broad, covering a wide body of research—or highly specific, such as a long-tail keyword target? If you’re new to long-tail keyword targeting, here’s a great primer video from Ryan:
If you’re going after a broad topic, the subsections throughout the outline may also be more broad. If the second, the subsections will be highly specific as well.
A legal blog post on ‘Personal Injury Lawyer’ would cover a broader scope of topics than a post on the ‘Cost of Personal Injury Lawyers in Detroit, MI.’
For example, headings for a blog post on personal injury lawyers might look like:
- Personal Injury Lawyers
- Key Facts on Personal Injury Lawyers
- Reasons to Hire Personal Injury Lawyers
- Benefits of Personal Injury Lawyers
But an outline for a legal blog post on the cost of personal injury lawyers in Detroit might be:
- Average Cost of Personal Injury Lawyers in Detroit
- Factors That the Affect Cost of Michigan Personal Injury Lawyers
- Contingency vs Hourly Fee Rates
- Location
- Case Type
Key takeaway: I tailor my headings not just to the topic, but to the topic reach.
Consider the Goal of the Blog Post
Next, I ask if my blog post should entertain, inform, or cover a topic that doesn’t belong in my current content hubs. Knowing the goal of the post helps me know what sections need to be included in the outline.
For example, a post that is relevant to my audience but doesn’t belong in my content hubs could include sections that internally link to other pages on my site (and should!). And effective link placement requires strategic planning during the outlining process.
Understanding the goal of my blog post helps me marry it to my overall content strategy.
Consider Section Relevancy to Your Target Audience
Broader topics could include a great many sections within the page — but this doesn’t mean that each and every section is relevant to my purpose.
I know that each section on the page should: relate directly (not loosely) to the parent topic of the page; inform the user; move the content forward; drive action.
If a section doesn’t check off each of these important elements, it doesn’t belong on the page, no matter how beautifully written it may be.
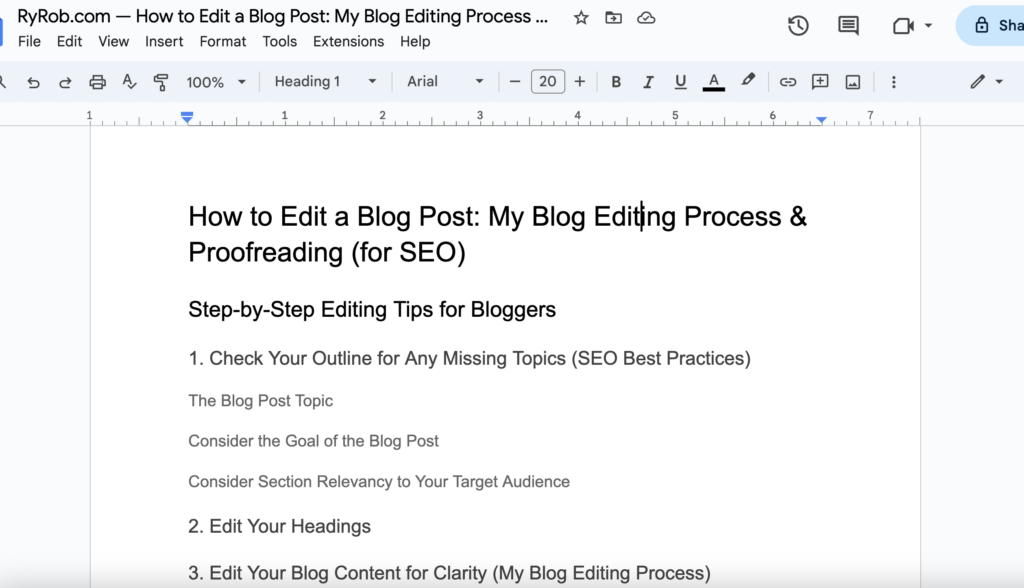
2. Edit Your Headings
After improving my blog post outline, I check my headings. This step ensures they are optimized not only for clarity and conciseness, but also for digestibility.
This is the test I use to make sure each blog post is digestible:
Before writing any content, a reader should be able to scan my outline and get an idea of the gist of the page just by reading the headings.
This is what we in content marketing refer to as a page’s scannability level. Can a reader scan my post and learn what it covers? If the answer is ‘no’, I’ve got to go through with a fine-tooth comb and clean up the headings.
Superb headings should be optimized for both site users and search engines, making it easy to crawl or scan the page for content relevancy and answers.
My best tips for editing blog post headings:
- Ensure each heading is worded in the most effective/succinct way. Match content style, but note that shorter, more succinct headings are easier for site users to read and scan. Eight words or less is a great starting target for writers who are new to blog editing.
- Include relevant keywords in headings whenever possible. Do NOT keyword stuff. Understand that if your content is well-outlined and covers topics important to your subject matter, keyword inclusion will happen naturally in headings.
- Aim for important keyword variations. Headings can feature different use cases of the target keyword. Use this opportunity to include relevant keyword variations. If your blog post is on ‘blog editing’, include ‘blog editing’, ‘blog post editing’, ‘blog content editing’, and ‘self-editing’ as variations, for example.
- Vary heading structure. Include a combination of short/long headings, questions, and statements/phrases (observe the headings in this blog post). Including too many of one type of heading makes the content mundane.
3. Edit Your Blog Content for Clarity (My Blog Editing Process)
After completing the basics of SEO editing, I knock out editing for clarity.
I ask myself one crucial question as I read a blog post for clarity:
– Does each sentence make sense, and can it only be interpreted in one way? If the answer is ‘yes’ to both parts of that question, I’m good to go!
If I find room for interpretation or inconsistencies, I may change wording, add examples, or omit some sentences or paragraphs.
Some ways I ensure content clarity include:
- Always illustrate your main points by offering direct examples or tips.
- Keep a consistent point-of-view throughout your blog post (no switching back and forth, as this can confuse readers).
- Trim sentences that include filler content (see below).
- Cut sections/paragraphs that veer off the main point (no falling down the rabbit hole in my blog posts).
4. Align Your Blog Post Content for the Target Audience
Alright, so you’ve edited your blog post for clarity… now, how does it land with the people in your target audience? If your blog post doesn’t resonate with the very real people you’re hoping to build connection with, it’s not going to achieve your content goals.
Smart SEO strategies, like link building to the page and having a strong internal linking structure, contribute a lot to your blog post’s eventual reach. But, you can also do some important on-page SEO work to optimize your blog post for the right people or businesses.

So, next I read through my blog post again. This time, I consider my target audience. Is the piece geared toward them at every turn? If not, it’s time to make some revisions.
For example, this blog post is primarily for both beginner bloggers, copywriters, and experienced SEOs—to improve their blog editing skills.
When I’m done writing this post, I’ll edit once more to ensure the post is geared toward the audience I intend.
Here’s what I consider during proofreading for the target audience:
- The target audience’s level of understanding of the topic. I know that this audience understands what a blog post is, and likely how to write one. They may or may not have a thorough understanding of SEO.
- My target audience’s pain points. My audience wants to become better at blog content editing in all its forms
- The ‘why’. Blog editors reading this post may need help with word choice, reducing filler content, providing clarity, or another editing aspect. It’s my job to identify the points I want to make and how they help solve the audience’s pain points.
- Whether I’m offering a fresh perspective. My blog post will appeal most to my target audience if it offers an original, fresh take. How am I helping them solve their pain points in a way that hasn’t been covered by other competitor blog posts?
5. Fix the Blog Post’s Formatting
Checking the formatting of a blog post is so important for copy editors, I placed this above some of the more SEO-focused tips. Why? To put it simply: looks are nothing—and everything!

Of course, formatting may be removed in WordPress, but getting the formatting right is important for a few reasons. First, I want to offer my site users consistency among my content.
Adhering to a certain style means my audience knows what to expect on my site. And style covers everything from my content’s tone to how it’s formatted on the page.
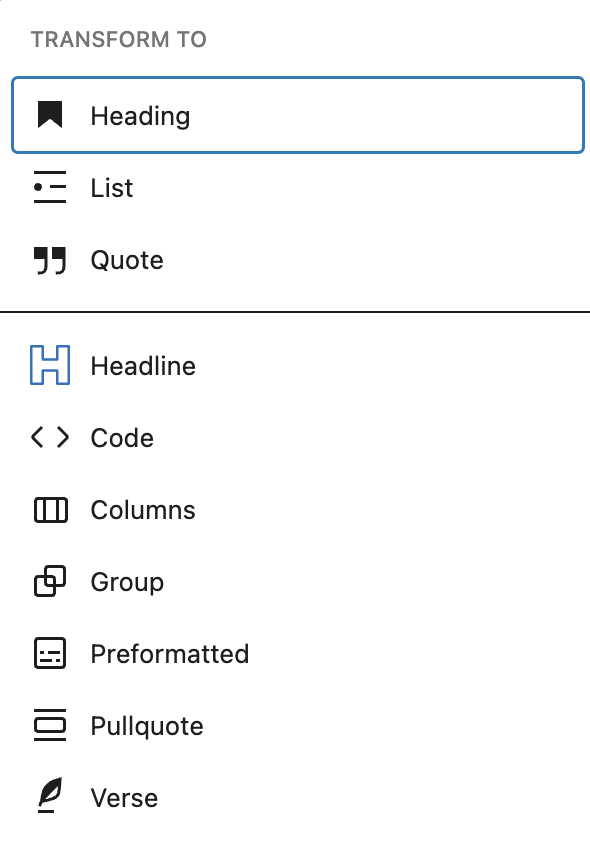
Second, formatting the content helps me identify large chunks of text that should be broken up or trimmed down. For example, maybe some heading sections need to be transformed into other formatting elements—or leveled up or down based on the flow of the content.
Fixing the formatting of my blog post helps me:
- Make sure my post is easy to scan for users
- Find the best places in the blog post for images
- Identify quotes or statistics to format into graphics
- Ensure the content is easy to navigate
- Ensure the page has good flow
- Keep my style consistent
- Easily repurpose for other content channels (podcasts/social media)
6. Trim the Fluff
You’ve done the surface cleaning. Now it’s time to get down to the dirty work of self-editing: axing the filler content.
This part of blog content editing is the part I find that trips up most blog writers. Identifying unnecessary words, phrases, or sections in your blog post can be tough to do.
That’s why I’ve boiled the trimming process down to three actionable steps. Follow these steps to tighten every blog post. This way, you include only the most necessary words to get the job done.
Shorten Sentences
It’s totally acceptable to write longer sentences — as long as you shorten them during the editing process!
I recently read a LinkedIn post that stated the best way to shorten sentences is by writing without commas. I disagree.
Don’t be intimidated by commas, or any form of grammar. Instead, know how to wield them. If your sentence contains multiple parts with multiple commas, it’s likely too long. When a sentence has several parts, the reader can get lost or the sentence may not be clear.
One of my best blog writing tips is to keep your sentences to 15-20 words max.
Note that sentences which are 25+ words in length are college-level writing. To appeal to all audiences, and to keep your writer engaged, shorten those sentences.
Tighten Up Paragraphs
I keep my blog posts easy to read and follow by editing my paragraphs the same way I edit sentences.
My hard paragraph rule:
– Paragraphs in digestible web pages should never be more than 2-3 lines in length.
Note the difference between lines and sentences. Paragraphs in this post are three lines in length max, even if they contain multiple sentences, or one sentence.
Here are some actionable ways I tighten up paragraphs in my blog posts:
- If I start a new train of thought, I start a new paragraph.
- Let sentences that I want to draw attention stand alone. Examples include sentences introducing a bullet list, startling facts, or important stats.
- Use a bullet list to cover groups of five or more. Otherwise, my reader can get lost and may bounce.
Tighten Up Sections
Similar to paragraphs, sections should not be too lengthy for readers to follow. Break up lengthy sections into H3s, as this will help the reader to digest the content.
For example, trimming the fluff is such an important part of the editing process, I had to break it into multiple subsections to keep it digestible for you.
My hard word count rule for digestibility in content sections:
– Keep blog post sections to about 125 words, or 150-250 words with a bullet list. If sections are longer than these maximums, I add H3s or H4s.
From a visual standpoint, it’s also a good general rule to have no more than 5-7 paragraphs (of 1-3 lines) for each section.
More than 5-7 paragraphs can appear as large blocks of text on the page. Giant sections encourage the reader to skip the section or jump off the page to avoid reading it.
7. Check Your Readability Score
The readability level refers to the reading level score for your content. For example, this blog post aims for an 8th- 9th-grade reading level score.
That’s because research shows that people connect better with content at lower reading levels, since it is easier to digest.
To decide on the reading level of your post, you must, you guessed it, know the target audience.
My top tip for gauging your audience’s average reading level: Look at your top-performing pages and check their readability level to gain a better idea of the reading level that your audience engages with best.
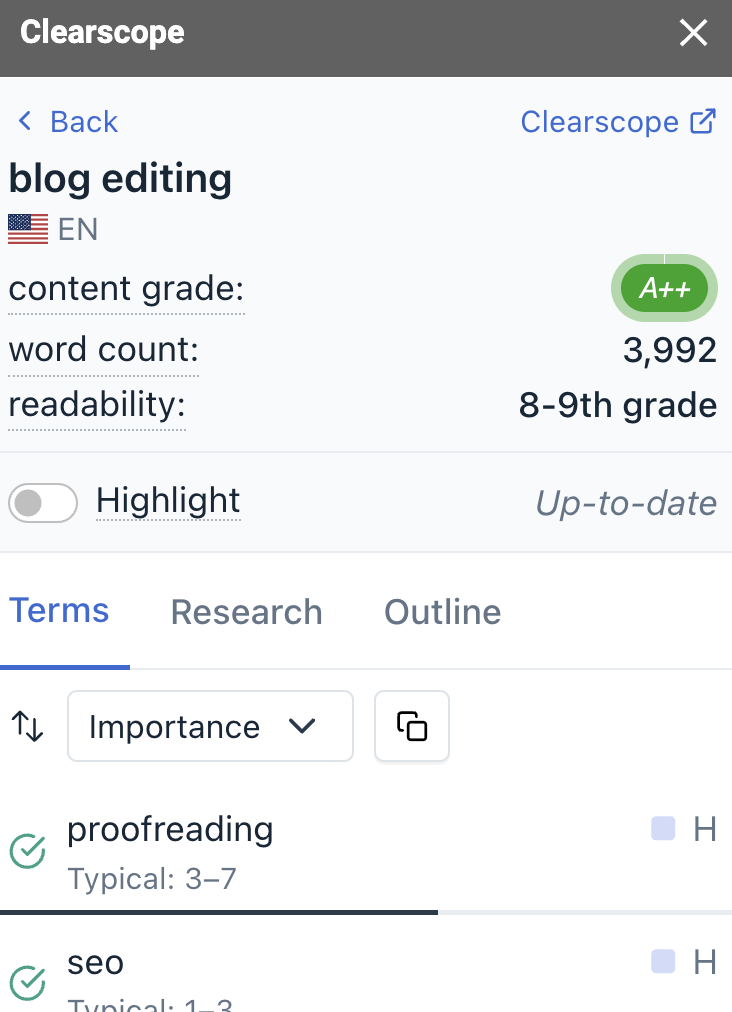
You can check a readability level with tools such as Clearscope’s optimization tool or the Hemingway app. Plug your content into one of these apps and you’ll receive your readability score.
You can improve your score by shortening sentences, tightening sections, and using plain language.
8. Knock Out Proofreading
In content marketing, proofreading refers not only to fixing spelling errors, grammar mistakes, and typos but also to churning out “unique, valuable, and trustworthy content” (Copyblogger).
Here is my tried-and-true method for effective and efficient proofreading:
- Fix any typos or spelling errors. I read every word carefully during proofreading to catch any auto-correct errors, such as incorrect synonyms.
- Get help with grammar. Use a top tool like Grammarly to identify common grammar mistakes, such as lengthy sentences and confusing word choices. Other, new popular grammar tools include QuillBot and LanguageTool.
- Read your blog post aloud. Doing so allows you to consider if your sentence stops make sense and if your commas are necessary and well-used. You can also gauge whether any sections are too long and find any filler content you missed.
- Find repeat word choices. All writers have a ‘mother tongue’ and tend to use certain words or phrases over and over. Reading new posts aloud helps you find these words /phrases and swap them to avoid redundancy and keep content engaging.
- Scan for succinct content. Above all, content should say what you want it to say in the most succinct way possible. Get rid of unnecessary words, such as bridging words (that are, that is, in order to), to tighten up content.
9. Consider Your Word Choice
Word choice is everything. I was going to say it’s ‘immeasurable’, but not everyone may easily understand that word.
Keeping your blog post free of words your reader may not understand helps avoid losing readers due to confusion/intimidation. Don’t lose readers by using off-putting language. Follow these rules I devised when editing my blog posts for word choice.
Get Rid of Any Words with Bias
Words that contain a natural bias can cause readers to feel uncomfortable, judged, or unseen. This is the opposite of what any blog writer should aspire to. After all, we want readers to take action.
And language choice should inspire a natural call to action by encouraging your site users through empowering word choice.
This is how I omit bias in my blog posts:
- Get rid of any content based on opinion, not fact. Even if your blog post is based on your expert opinion, you should back those opinions by research or other expert opinions.
- Use person-first language. This idea was first introduced to me by editors at Compose.ly, a quality content marketing production agency.
Person-first language ensures you do not define a person by their condition or by their shortcomings. Instead, you describe them as a person who has a condition or a gap in skills or knowledge. Conditions or gaps can be treated or addressed.
Provide Descriptions for Jargon
Explain difficult or uncommon words (i.e. lengthy words or jargon) in layman’s terms. This part of blog editing can sometimes be hard for business owners. You may not recognize words you need to break down or explain since you already understand the meaning of them.
I consider the words I use by asking, “would I understand this word if I were a beginner?” Provide explanations for any words that beginners to your topic of choice may not understand.
Here’s an examples of providing a description for jargon in layman’s terms:
SEO, or search engine optimization, is the practice of “making your website more visible to search engines”, according to SEMRush. The SEO process helps users find your website when they are searching for products or services that you provide.
Use Plain Language
Opt for plain language for your blog content, always. You never want to intimidate your reader into avoiding your blog post, or worse, your site.
If there is a more direct word for what you want to say, always choose the word that’s easier to understand.
Some examples of empowering language through direct word choice:
- Immeasurable → immense
- Consequences → dangers/effects
- Individuals → people
- Oftentimes → often
10. Consult Your Editing Checklist and Style Guide
Don’t have an editing checklist? You have my permission—use this one!
An editing checklist can be pretty barebones, too. Quite simply, it should be a laundry list of items to look for every time you edit a piece of content.
In addition, a checklist can help ensure you match your content style. Bigger brands may compile this information into a useful style guide.
Such a template can be especially helpful if you’re working with freelancers to help write your content.
Hint: everything on this page is what’s on my editing checklist template. You don’t have to get fancy with it, either.
Create a document that you refer to each time you start the editing process.
With time, you won’t even need to open this blog editing checklist, as your editing process will become second-nature.
Bonus: Make Use of SEO Tools to Optimize Your Blog Post
It’s no secret that SEO should play a role in blog writing and editing, no matter what industry you’re in.
But that doesn’t mean you have to be an SEO guru in addition to writing the blog, editing it, and running your business. There are tools for the SEO heavylifting.
The following are my favorite tools for optimizing blog posts and other content forms.
Clearscope Reports
I used a Clearscope report on this blog post.
It helped me:
- Understand competitor standings for the topic
- Find topical questions
- Determine keywords for headings
- Create the outline
- Ensure keyword inclusion
- Work in keyword variation
- Hit my target reading level
- Explain keywords in layman’s terms
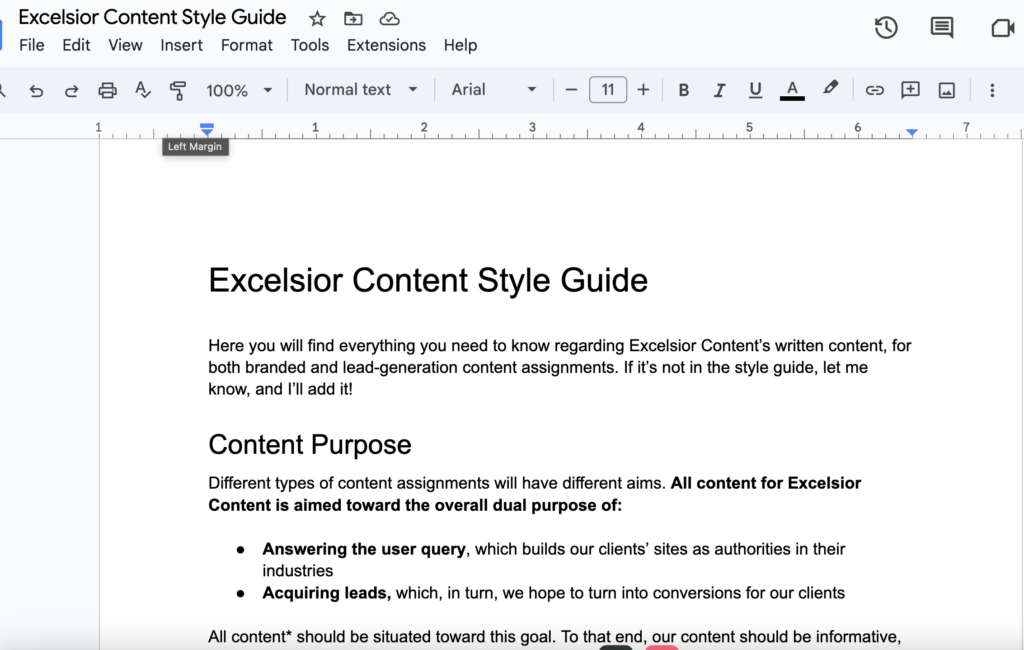
I also integrate the Clearscope report in Google Docs with the Chrome extension. This way, I can edit in real-time, ensuring the piece remains optimized as I make changes to it.
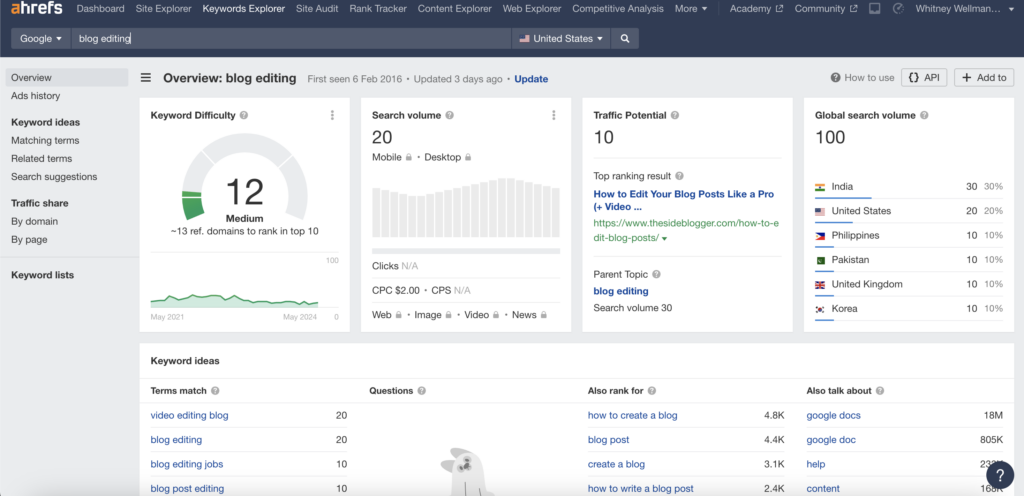
Ahrefs
Keyword and topical research should be completed prior to writing your blog post. But perhaps editing your piece uncovers a gap in information, and you need to learn more.
For blog posts, I use Ahrefs to identify:
- Related topics: Helps me understand what I should be covering in my blog post.
- Keyword difficulty: Offers insight on whether my content stands a chance of ranking*
- Topic questions: Serve as relevant headings. Questions can also provide a checklist for you during editing; did you answer them for the reader?
But why do SEO research during editing?
It’s better to notice any holes in your blog post, and put in the work to answer/cover them, than to leave those stones unturned. Otherwise, your post may not perform the way you want it to.
Free Keyword Research Tool by RyRob
Ryan built his own really helpful keyword research tool for anyone to use—and it’s completely free of charge, forever.

Here’s how to use this AI powered keyword tool to generate dozens of keywords for your blog post:
- Type in a keyword or phrase. Get suggestions of lower-competition keywords, which are easier to target and, often, to rank for.
- Use the “Ideas” tab to generate more blog post ideas from a single keyword. This is especially helpful if you want to repurpose your piece to get the most bang for your buck.
- Access an SEO checklist within the tool to learn more about smart keyword research.
Final Step: Check New Posts Against Your Existing Content
No matter what industry you’re in, there’s a good chance you’ll be writing about the same topics over and over. That’s just good content marketing.
But you don’t want one piece to jeopardize the performance of another. Or, worse yet, you don’t want both pieces to be penalized by search engines for being too similar.
This is known as content cannibalization, and it means neither of the blog posts would be seen by your audience, defeating your entire purpose.
Here’s how I avoid blog post cannibalization:
- Make sure each piece targets a distinct keyword
- Write descriptive, highly targeted headings and subheadings
- Tailor each piece to its specific, niche audience
- Combine important keywords that are very similar into one piece OR multiple highly specific and distinctive pieces
If, during editing, you find that your piece is too similar in aim, wording, or keyword targeting to another piece, go back to the drawing board.
Yes, this will be an editing & rewriting headache if you need to overhaul your content. But it’s better to spend the time now than to find out after publishing the post and being left high and dry.
3 Best Blog Editing Services For You to Try
If you’re reading through this guide and the blog editing process sounds like a lot—more than you want to handle…
No worries. There are a ton of blog editing services that can take this burden off your hands. Here are 3 of the top blog editing services for you to try, starting first with my very own blog editing offering…
1. Excelsior Content
Founded and run by yours truly, Excelsior Content offers a suite of content production services, including blog editing.
Our editing process involves a three-person touch point to ensure your post:
- Aligns with your business values
- Achieves your content goals
- Stacks up against (and smashes through) that of competition
Every point mentioned in this post would be applied to your content, from proofreading, to SEO matching, and beyond.
With a combined experience of 3 decades, our content team has aided 75 brands in reaching top-ranked status for hundreds of pages. And exponential leads and conversions to match.
Excelsior Content supports busy digital marketing departments/founders, taking tiresome content tasks off their plates, allowing them to scale and grow.
2. EditorNinja
EditorNinja is very aptly named. This editing service boasts a work rate of editing more than 7 million words, helping over 250 brands to reach their SEO and content strategy goals.
Their content editing team helps you scale by providing top-quality content support without the hefty price tag of a full team.
They also offer editing services according to your needs, including:
- Copy editing
- Proofreading
- Single-document editing
- AI content editing
- An unlimited editing package
Whether you’re an agency owner, a solopreneur, or department head, EditorNinja can save you time and stress on blog editing.
3. Compose.ly
A white-glove content agency, Compose.ly provides a full continuum of content services, including editing.
Compose.ly is committed to helping brands tell their story, from small startups to corporations with a vision.
Their top blog editing services include one-off packages for proofreading, line editing, copy editing, SEO editing, or packages that compile all services.
With Compose.ly, you can choose to enlist them for long-term blog support, or get their help for a one-time project. They’ll work with you through the revision process to ensure you end up with the post you want.
Ready to Improve Your Blog Editing Process? Start Self-Editing Today
We’ve just read the complete guide to self-editing. Along the way, we learned about SEO considerations, copy editing and proofreading, word choice, heading pointers, and much more.
If the process still seems daunting, take heart. Not enough people complete this level of editing before hitting publish. Far too many content marketers value quantity over quality.
When you uphold a high standard of quality blog editing, you put yourself a step ahead of your competitors.
Ready to level up your content? Start by editing the first blog post. The next time will be easier, and the next will be easier than the last.
Or, hand off this task to people who love the challenge. For help with SEO editing, check out our free keyword research tool.
Disclaimer: This story is auto-aggregated by a computer program and has not been created or edited by budgetbuddy.
Publisher: Source link
Publisher: Source link